OWASP Threat Dragon
Getting started with Threat Dragon models
note that this page is out of date, see the latest version 1.x documentation
Create a new model
If using the Web application
The Threat Dragon web variant stores its threat models in your GitHub repos. This is so that the models can stay close to the code they are modelling. Future versions will provide a deeper integration so watch this space but for now, when you login to Threat Dragon for the first time you will need to access Github.

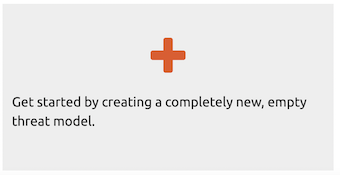
To get started with your threat model access the welcome page and select click on the plus area.
You will then be presented with a list of your GitHub repositories. Pick the one where you want to store your new model. If you have more than 30 repos you might have to page through them until you find the one you want.
Once you have picked your target repo, you will be asked to pick a branch. Again, if you have more than 30 branches you might need to page. When you pick a branch you will be taken to the threat model edit page where you can enter general information about your model.
If using the Desktop application
The Threat Dragon desktop variant stores its threat models on your local filesystem. To get started with your threat model start the applications and from the welcome page select on the plus area, or pull down menu ‘New’. You will then need to save the model file - we did ot this way so that you can nbe sure your model can be saved.
You will then be taken straight to the threat model edit page where you can enter general information about your model.
Threat model edit page
The Title field is mandatory. All the rest are optional, but they provide context for your model. This can be useful if someone else has to pick the model up in the future. Click on the Edit button to start editing the threat model details.
- Title - mandatory, all other fields are optional
- Owner - typically a dev team or an individual
- Reviewer - only one reviewer at present
- High level system description - provides context for your model
- Contributors - giving credit where it is due
You can add new contributors by clicking on ‘Add a new contributor …’.
Add some diagrams to your model by clicking on ‘Add a new diagram …’
Name your diagram and then Add to confirm or Cancel if you change your mind. At this stage you are just listing the diagrams and naming them. You add all the diagram elements later.
Once you have entered all the details you need remember to click Save. You can also Cancel to exit without saving, or Reload to undo any changes and revert to your last save.
In the web variant of Threat Dragon, models are saved in your chosen branch at a path like ThreatDragonModels/[model name]/[model title].json, so if you change title of your model it will delete the old model in GitHub and replace it with one at the new path.
Congratulations! You have got the basics done. Next step … mapping out your system in a diagram.
Loading a demo model

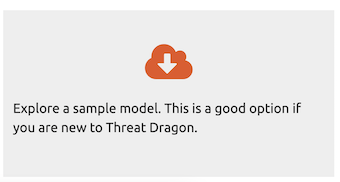
If you are wondering how to start you can load a demonstration threat model. On the welcome page select an example by clicking on the examples area. If you are using the desktop application you can select ‘Open Demo Model’ pull down menu.
These examples will give some ideas on how to get started with your own models.
Opening an existing model

Web application
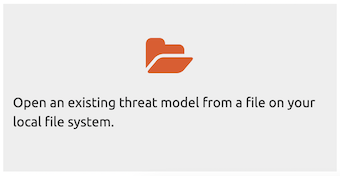
If you have a repository that already has threat models, you can open them by clicking on the open area on the Welcome page. You will then be able to navigate to a github repository and branch and then choose from a list of existing model files.
Desktop application
For an existing model file saved on the local file system, open it by clicking on the open area on the Welcome page. You will then be able to navigate to the model file in your local file system and open it.
The demo model should give you some ideas on how to get started with your own model.
Threat model report
From the Threat Model details view you can see a summary report of your model listing the diagrams, elements and threats. Towards the bottom right of the page click on the Report button.
You can then customise the report to show or hide:
- Out of scope model elements
- Mitigated threats
- Threat model diagrams
On the desktop variant of Threat Dragon you can Print the report or Save it as a PDF. On the web variant, you can Print the report and then, on most browsers, the print dialog allows you to save the report as a PDF.